What is the subfinder tool?
Subfinder is used to discover or extract the subdomain of any website. Subfinder is developed and managed by Project Discovery. It uses passive online sources to locate good subdomains for websites. The passive online sources like Censys, Chaos, Recon.dev, Shodan, Spyse, Virustotal, and many other passive online sources. This tool is designed to do passive subdomain enumeration, and it does it exceptionally well. It was projected to be a successor to the sublist3r tool.
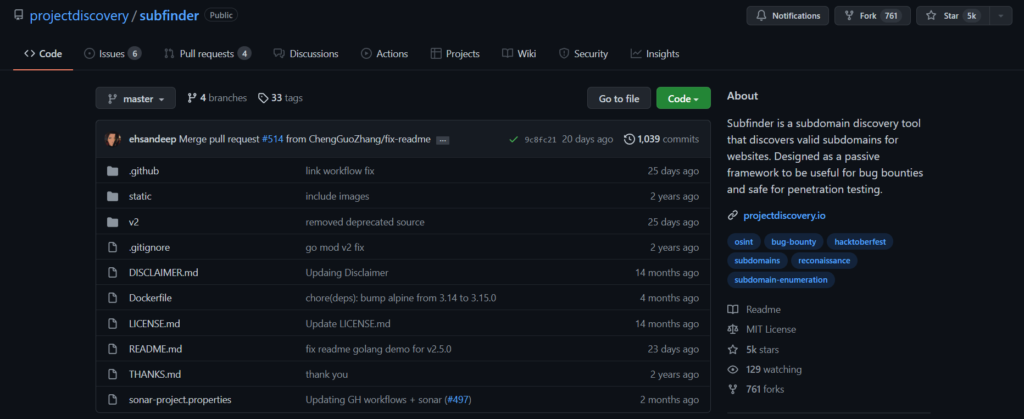
Project Discovery created a subdomain finder tool to integrate all passive source licenses and usage limitations. It maintains a consistently passive paradigm that would be valuable to penetration testers and bug bounty seekers. This tool is built in the go programming language.
Features of the subfinder tool
The features of this tool are a basic modular architecture and are speed-optimized.
- The rapid and strong resolution, as well as a wildcard elimination module
- Curated passive sources to achieve the best outcomes
- Various output formats are available (Json, File, Stdout)
- Optimized for speed, very quick, and low on resources
- Support for STDIN/OUT for integrating into processes
How subfinder tool works?
When you submit a target domain to subfinder, it will search at least 26 sources to locate all of the target domain’s subdomains. Subdomains can then be exported in various formats, including JSON, File, and Stdout. It enables the user to enter numerous target domains at the same time, and its stdin/stdout features allow it to be connected with other tools as part of a workflow.
How to install the subfinder tool in any Linux?
The subfinder doesn’t come pre-installed. So you have to install it in Kali Linux or Parrot Security OS. You can download it in any The subfinder doesn’t come pre-installed. So you have to install it in Kali Linux or Parrot Security OS. You can download it in Kali Linux from Kali Linux’s repository.
To download in any Debian-based Linux distribution, you can easily download it from Project Discovery’s GitHub repository. As this tool is written in go, make sure go is installed in the system before installing this tool. We have to download and install it from GitHub to use this tool.
You can download it from Project Discovery’s GitHub repository or directly from Kali Linux Repository.
sudo apt-get install subfinderAfter downloading, you can directly use it. To check whether it’s installed or not, let’s see the version of this tool.
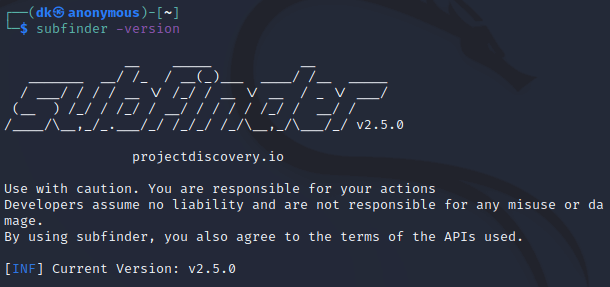
subfinder -versionOptions and Usage
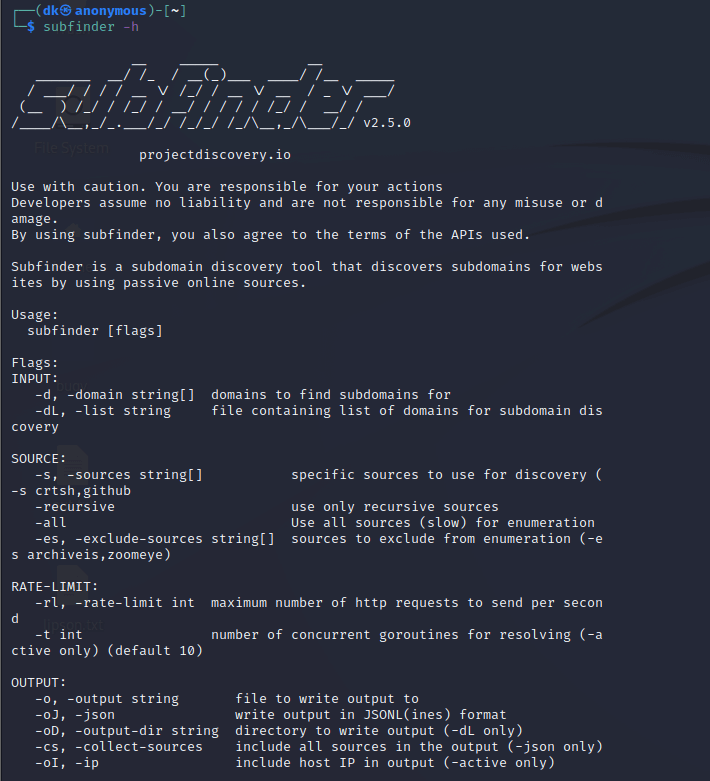
The subfinder tool comes with different and various options or flags any user can use it.
syntax: subfinder [options]
#1. Input
-d, -domain string[]: Enter one or more domains to find subdomains for
-dL, -list string: Enter the path of the file containing a list of domains for subdomain discovery
#2. Source
-s, -sources string[]: Include one or more specific sources for discovery. For example, -s crtsh,github.
-recursive: use only recursive sources
-all: Use all sources for enumeration. With this option, the scan will be a little slow.
-es, -exclude-sources string[]: Exclude one or more specific sources for enumeration (-es archiveis,zoomeye)
#3. Rate Limit
-rl, -rate-limit <number>: Enter the maximum number of HTTP requests to send per second
-t <number>: Enter the number of concurrent goroutines for resolving (-active only). By default, the value is 10.
#4. Output
-o, -output string: Enter the file’s path to save the output to that file
-oJ, -json: It will save the output in a JSON file and in the format of the lines
-oD, -output-dir string: Enter the path of the directory to write output (-dL only)
-cs, -collect-sources: All sources in the output will be included. It will work in only -json option
-oI, -ip: It will include the host IP address in the output (-active only)
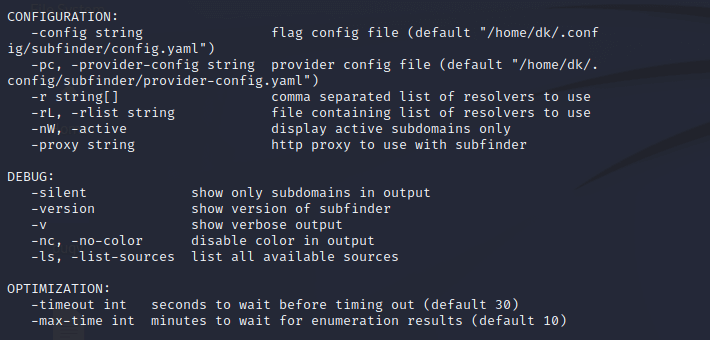
#5. Configuration
-config string: The default flag configuration or config file is “$HOME/.config/subfinder/config.yaml”.
-pc, -provider-config: All the strings of different sources provides in the provider-config.yaml file. The default path of the provider config file is “$HOME/.config/subfinder/provider-config.yaml”.
-r string[]: comma-separated list of resolvers to use
-rL, -rlist string: A file containing the list of resolvers to use
-nW, -active: It will display active subdomains only
-proxy string: With this option, subfinder can use HTTP proxy
#6. Debug
-ls: To list all available sources in the terminal
-silent: It will only show subdomains in the output
-version: It will show the version of the subfinder tool
-v: It will show verbose output like which source find the subdomain and the time taken
-nc, -no-color: It will disable color in the output or terminal.
#7. Optimization
-timeout <number>: Seconds to wait before timing out. By default, the value is 30.
-max-time <number>: Minutes to wait for enumeration results. By default, the value is 10.
Note: Verbose and Silent mode can’t work together. It simply exits the tool.
How to use the subfinder tool?
To see how to use this tool, I am using the https://lipsonthomas.com domain. The subfinder finds only one subdomain in a few seconds rather than the domain www.lipsonthomas.com. It will store the output of the terminal in the file.
subfinder -d lipsonthomas.com -silent -o output.txt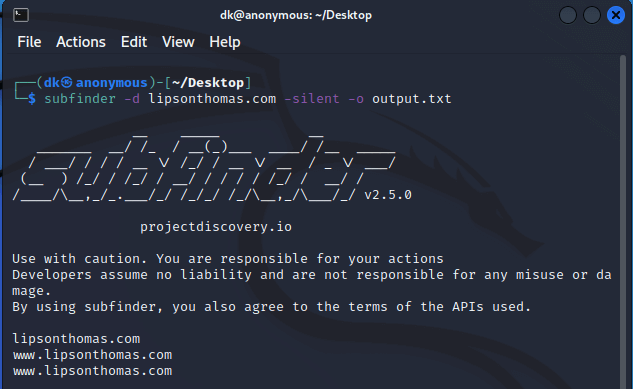
Now, let’s see that the result is stored in the file.
cat output.txt
Practical Video
Conclusion
Subfinder is a high-speed and powerful tool for subdomain discovery. It is faster than sublist3r, which is written in python language. It works almost immediately without any extra configuration other than putting up API keys.


